Middleware in .NET Core with an Item API
Chaining middleware ahead of filters.
Middleware in .NET Core is a crucial concept that plays a significant role in handling HTTP requests and responses within the application pipeline. It acts as a series of filters or components that process incoming requests and outgoing responses. In this blog, we'll dive into the concept of middleware, its role in a .NET Core application, and demonstrate how to create custom middleware using an Item API as an example.
What is Middleware?
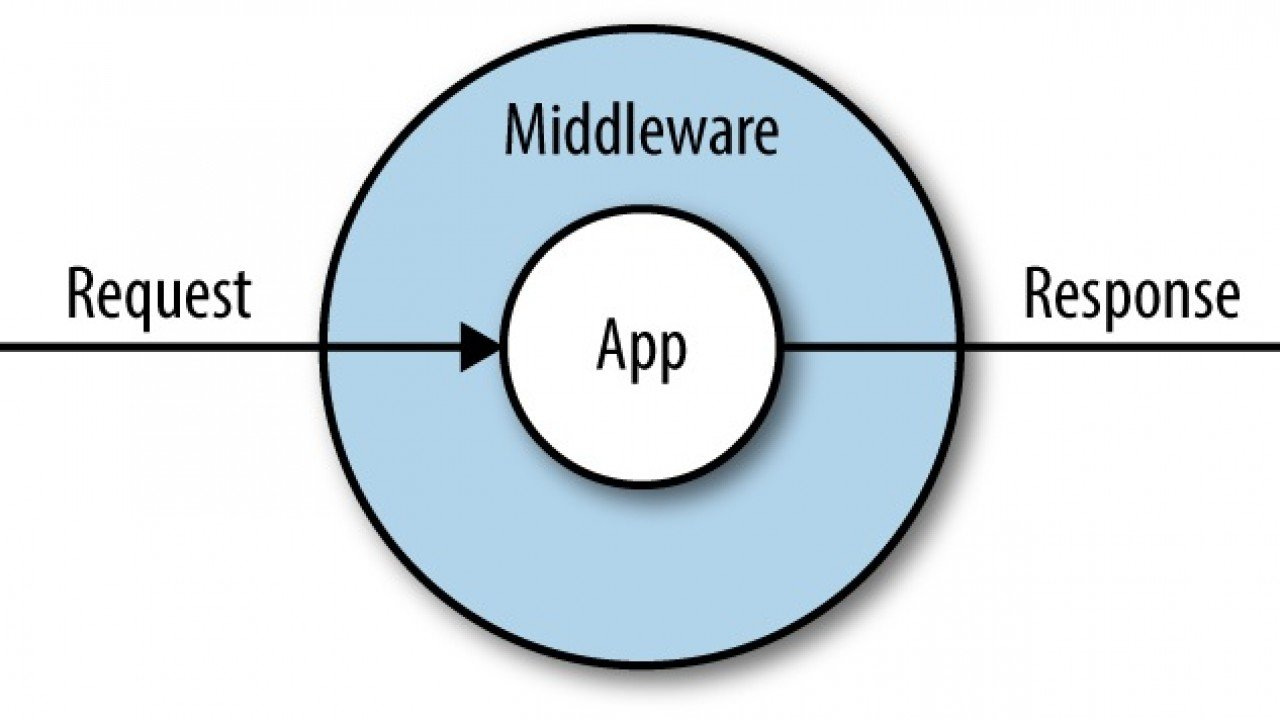
Middleware is software that is assembled into an application pipeline to handle requests and responses. Each piece of middleware can perform operations before or after the next piece of middleware in the pipeline. This pipeline is set up in the Startup.cs file of a .NET Core application.
Common Uses of Middleware
Middleware can be used for a variety of tasks, such as:
Request Logging: Logging details about incoming requests.
Authentication: Verifying user credentials.
Error Handling: Catching and handling exceptions.
Routing: Determining the endpoint that should handle a request.
Response Compression: Compressing the response data.
Setting Up Middleware in .NET Core
In a .NET Core application, middleware is configured in the Startup.cs file. Let's start by understanding the basic setup.
1. Configuring Middleware in Startup.cs
The Configure method in the Startup.cs file is where middleware is set up. The order in which middleware is added is important because it determines the flow of request processing.
Here's a basic example:
public class Startup
{
    public void Configure(IApplicationBuilder app, IWebHostEnvironment env)
    {
        if (env.IsDevelopment())
        {
            app.UseDeveloperExceptionPage();
        }
        else
        {
            app.UseExceptionHandler("/Home/Error");
            app.UseHsts();
        }

        app.UseHttpsRedirection();
        app.UseStaticFiles();

        app.UseRouting();

        app.UseAuthorization();

        app.UseEndpoints(endpoints =>
        {
            endpoints.MapControllers();
        });
    }
}
In this example, UseRouting, UseAuthorization, and UseEndpoints are all middleware components. The pipeline processes requests in the order these components are added.
Creating Custom Middleware
Custom middleware can be created to handle specific requirements. Let's create a simple custom middleware that logs request details for our Item API.
2. Creating the Custom Middleware Class
First, let's create a class that will represent our custom middleware.
using Microsoft.AspNetCore.Http;
using System.Diagnostics;
using System.Threading.Tasks;

public class RequestLoggingMiddleware
{
    private readonly RequestDelegate _next;

    public RequestLoggingMiddleware(RequestDelegate next)
    {
        _next = next;
    }

    public async Task InvokeAsync(HttpContext context)
    {
        // Log the request path
        Debug.WriteLine($"Incoming Request: {context.Request.Method} {context.Request.Path}");

        // Call the next middleware in the pipeline
        await _next(context);

        // Log the response status code
        Debug.WriteLine($"Outgoing Response: {context.Response.StatusCode}");
    }
}
In this RequestLoggingMiddleware class:
The
RequestDelegateis a delegate that represents the next middleware in the pipeline.The
InvokeAsyncmethod is where we define our middleware logic. It logs the request method and path, then calls the next middleware in the pipeline, and finally logs the response status code.
3. Registering the Middleware
To use the custom middleware in our application, we need to register it in the Startup.cs file.
public class Startup
{
    public void Configure(IApplicationBuilder app, IWebHostEnvironment env)
    {
        if (env.IsDevelopment())
        {
            app.UseDeveloperExceptionPage();
        }
        else
        {
            app.UseExceptionHandler("/Home/Error");
            app.UseHsts();
        }

        app.UseHttpsRedirection();
        app.UseStaticFiles();

        // Use custom request logging middleware
        app.UseMiddleware<RequestLoggingMiddleware>();

        app.UseRouting();

        app.UseAuthorization();

        app.UseEndpoints(endpoints =>
        {
            endpoints.MapControllers();
        });
    }
}
Here, app.UseMiddleware<RequestLoggingMiddleware>(); registers our custom middleware in the pipeline. The order of registration is important because it determines when the middleware will execute in relation to other middleware components.
4. Testing the Middleware with Item API
Let's implement a basic ItemsController to see the middleware in action:
[Route("api/[controller]")]
[ApiController]
public class ItemsController : ControllerBase
{
    private static List<Item> Items = new List<Item>
    {
        new Item { Id = 1, Name = "Item1", Description = "First item" },
        new Item { Id = 2, Name = "Item2", Description = "Second item" },
    };

    [HttpGet]
    public ActionResult<IEnumerable<Item>> GetItems()
    {
        return Ok(Items);
    }

    [HttpGet("{id}")]
    public ActionResult<Item> GetItem(int id)
    {
        var item = Items.FirstOrDefault(i => i.Id == id);
        if (item == null)
        {
            return NotFound();
        }
        return Ok(item);
    }

    // Other CRUD actions...
}
When you run the application and make a request to the ItemsController, the custom middleware will log the request and response details to the debug output.
Conclusion
Middleware is a powerful feature in .NET Core that allows you to intercept and manipulate HTTP requests and responses as they pass through the application pipeline. By understanding and utilizing middleware, you can create more modular, maintainable, and testable applications.
In this blog, we created a custom request logging middleware and integrated it into an Item API. This example highlights how middleware can be used to add cross-cutting concerns, such as logging, to your application in a clean and reusable manner. Whether you're handling errors, managing authentication, or simply logging requests, middleware provides a flexible and powerful way to build robust applications in .NET Core.


